I had a bit of time to sew this week. But before I show you on what I have worked on, I want to say thank you for all your great comments on my Amalgam and Stretched Shoo Fly quilts. I really appreciate it. Also, I wanted to say a special thanks to Agnes and Cinzia who took the time to review my pattern for the Stretched Shoo Fly quilt. I didn’t mentioned it in my previous post and I wanted to apologize. Thanks to both of you for your constructive comments.
I wanted to make a pillow using leftovers from my Stretched Shoo Fly quilt still playing on the Modern Traditionalism theme. First, I had thought about the Super-Size Castle block (tutorial on Sew Mama Sew by Amy from Badskirt). But, my print scraps weren’t big enough. Than, I thought that a ring would look great. I had seen a couple of pillow using the Single Girl pattern by Denyse Schmidt (for example here). I continued looking around on Pinterest thant I found this, a post on the Jack’s Chain quilt block. I thought this was perfect. I could use my prints for the nine patches. And I chose a print from the Botanics collection from Carolyn Friedlander for the triangles. For the background, I used Essex yarn-dyed linen in black like in my quilt.
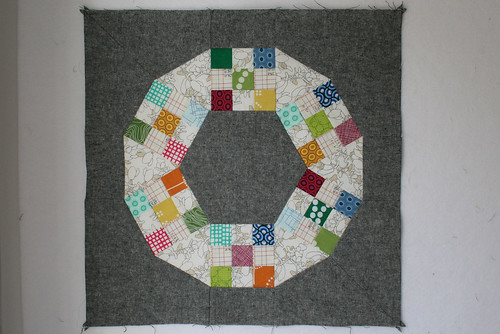
It’s one of the hardest block I’ve pieced so far. It involves a lot of Y-seams. They are much smaller than the one on my Tumble Block quilt, so it makes it a bit harder. After a few, I started to get the hang of it. I find remarquable people who make whole quilt with this block. So much work go into it. It is amazing.
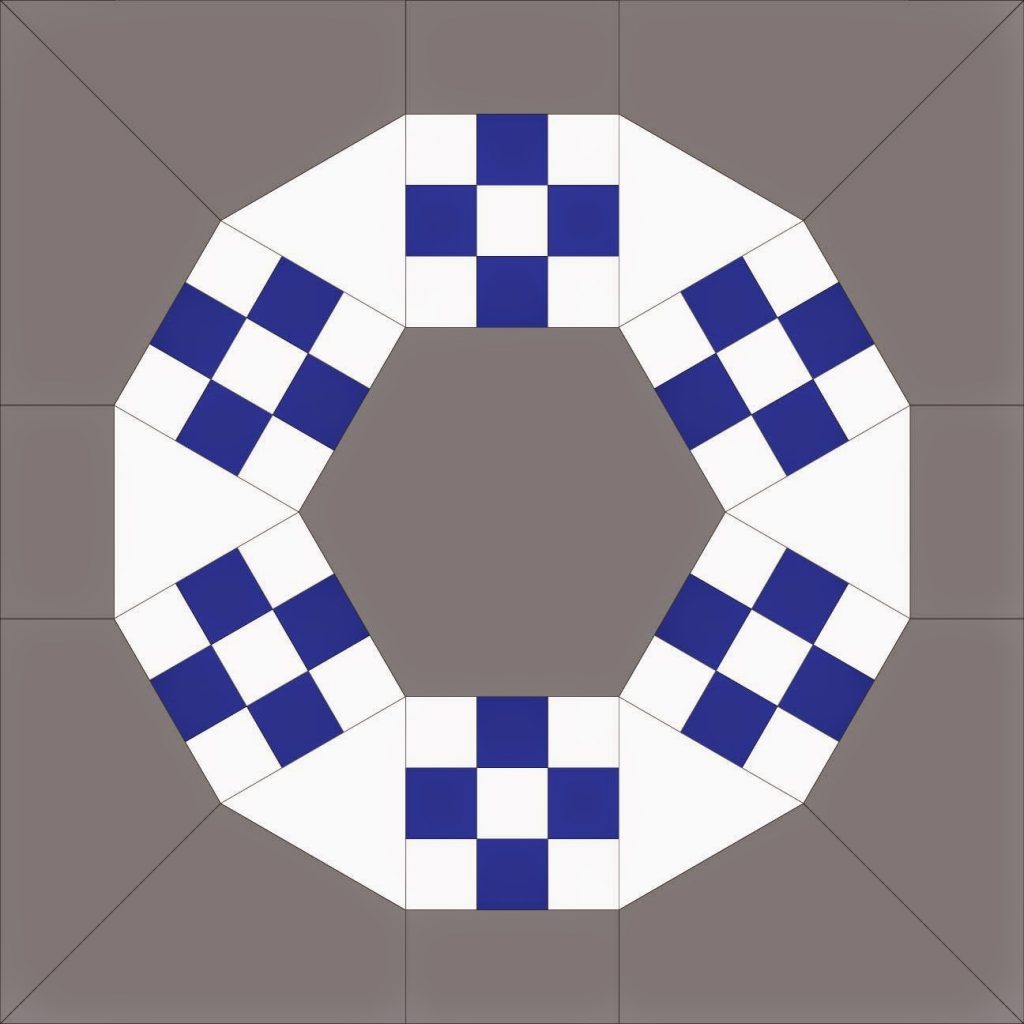
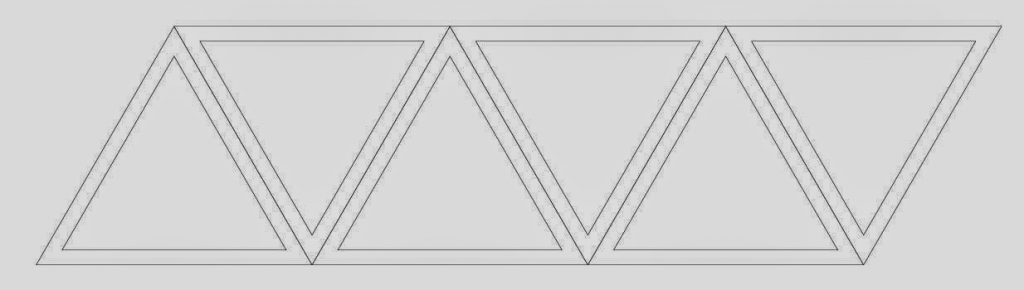
The squares for the nine patch are cut at 1.75″. The triangles need to be cut from a 4″ strip. An 18″ long strip is enough to cut all six triangles.
The corner pieces and the hexagon can be cut out from a 16″ square piece of the background fabric. First, I cut out the hexagon in the center, then I cut the corners pieces.

You can find my templates for those pieces here. It also includes a template for the triangles, to cut out their tips. This helps to align them when piecing the block.
The rectangles at the top and bottom, and each sides are 2.5″ x 4.25″. As I was using yarn-dyed fabric with different colors for the warp and weft, I took care of the direction in which I was cutting them. This was to have the grain-line in the same direction for all background pieces.
I assembled the ring as explained in the Quilter’s Cache tutorial. Then I assembled four pieces like this with the background pieces for each side of the block. I pieced them one by one to the ring and then stitched the corner seams to join the four sides.

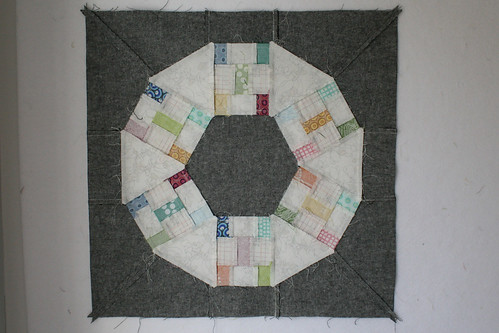
Here is how it looks from the back to give you a better idea of the piecing.
I’m happy with the results. The only think I regret is that I took all prints from my Stretched Shoo Fly quilt. I should have left out the lighter prints in the nine patches to have more contrast between the lighter and darker squares. I think I’m going to quilt both the front and the back panel of the pillow. I’ll share it with you once I’m done.
when I frist saw the picture I thought you were making a quilt. Then i read that you are making a pillow and I can understand how difficult it is to work with such small Y seams! Great work Josee! I've never seen that block before.