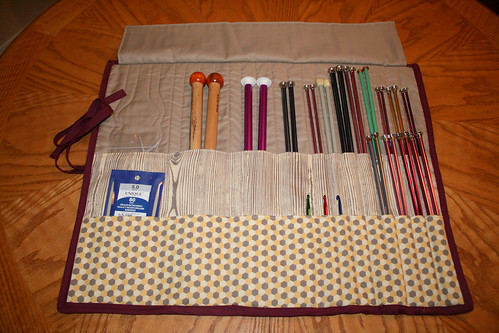
Here is a tutorial to make this rolled-up case for knitting needles:

First, here are a sketch of the needle case. It will help you visualize all pieces and have an idea of placement of the appliqués and quilting lines from the exterior and interior.


And now the list of supplies and instructions.
Fabric
– Fat Quarter of a cotton print for outer panel
(Here: Tossed Flower fabric in Raspberry from Joel Dewberry’s Ginseng collection).
(Here: Tossed Flower fabric in Raspberry from Joel Dewberry’s Ginseng collection).
– Fat Quarter of a cotton print for high pocket and flap
(Here: Pine fabric in Stone from Joel Dewberry’s Ginseng collection).
(Here: Pine fabric in Stone from Joel Dewberry’s Ginseng collection).
– Fat Eight of a cotton print for low pocket
(Here: Geo fabric in Sand from Joel Dewberry’s Ginseng collection).
(Here: Geo fabric in Sand from Joel Dewberry’s Ginseng collection).
– ⅔” yard of a solid color cotton fabric (here in stone) for interior panel and lining of pockets and flap.
– 3 squares of 3” for the hexagon appliqués (2 from the interior cotton prints and one from the solid color fabric).
Other Supplies
– One piece of 17 x 22” cotton batting
– Hand-embroidery floss contrasting with the solid color fabric.
– Coordinating sewing thread.
– Coordinating ready-made binding (or ¼ yard of cotton fabric to make your own)
Cut the Fabric
| 1. From the FQ for the outer panel, cut a rectangle measuring 17 x 22”.
2. From the FQ for the high pocket and flap, cut respectively a piece of 9½ x 22” and a piece of 5½ x 21½”.
3. Cut a rectangle of 6 x 22” for the low pocket.
4. From the solid color cotton, cut the following pieces:
– Interior panel: 17 x 22”
– Low pocket lining: 6 x 22”
– High pocket lining: 9½ x 22”
– Flap: 5½ x 21½”
|
 |
Assemble Pockets and Flap
 |
5. Put the fabrics for the high pocket right side together. Sew at top edges together (Seam allowance ½”). Do the same for the low pocket. For the flap, also sew both sides and clip corners. |
 |
6. For the 3 pieces, turn right side out, press and top-stitch. |
Make the Appliqués
 |
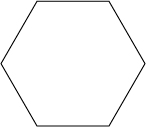
7. Using the hexagon template and the English Paper Piecing technique, prepare 3 hexagons. |
 |
8. Hand-stitch the hexagon together using a whipstitch along the adjacent edges to form a column of 3 hexagons. Put the hexagon in solid color in the middle. |
 |
9. Position the appliqué on the right side of the outer panel (refer to the case template to position the appliqués). Baste in place. 10. Hand-stitch the appliqués using a tack stitch (Tip: use an embroidery hoop to facilitate this task). |
 |
11. Hand-stitch with embroidery floss around the edge of the middle hexagon using a running stitch. |
Assemble the Needle Case
 |
12. Put the exterior panel face down on a flat surface, position the batting on it and then the interior panel face up. Baste or pin all layers together. |
 |
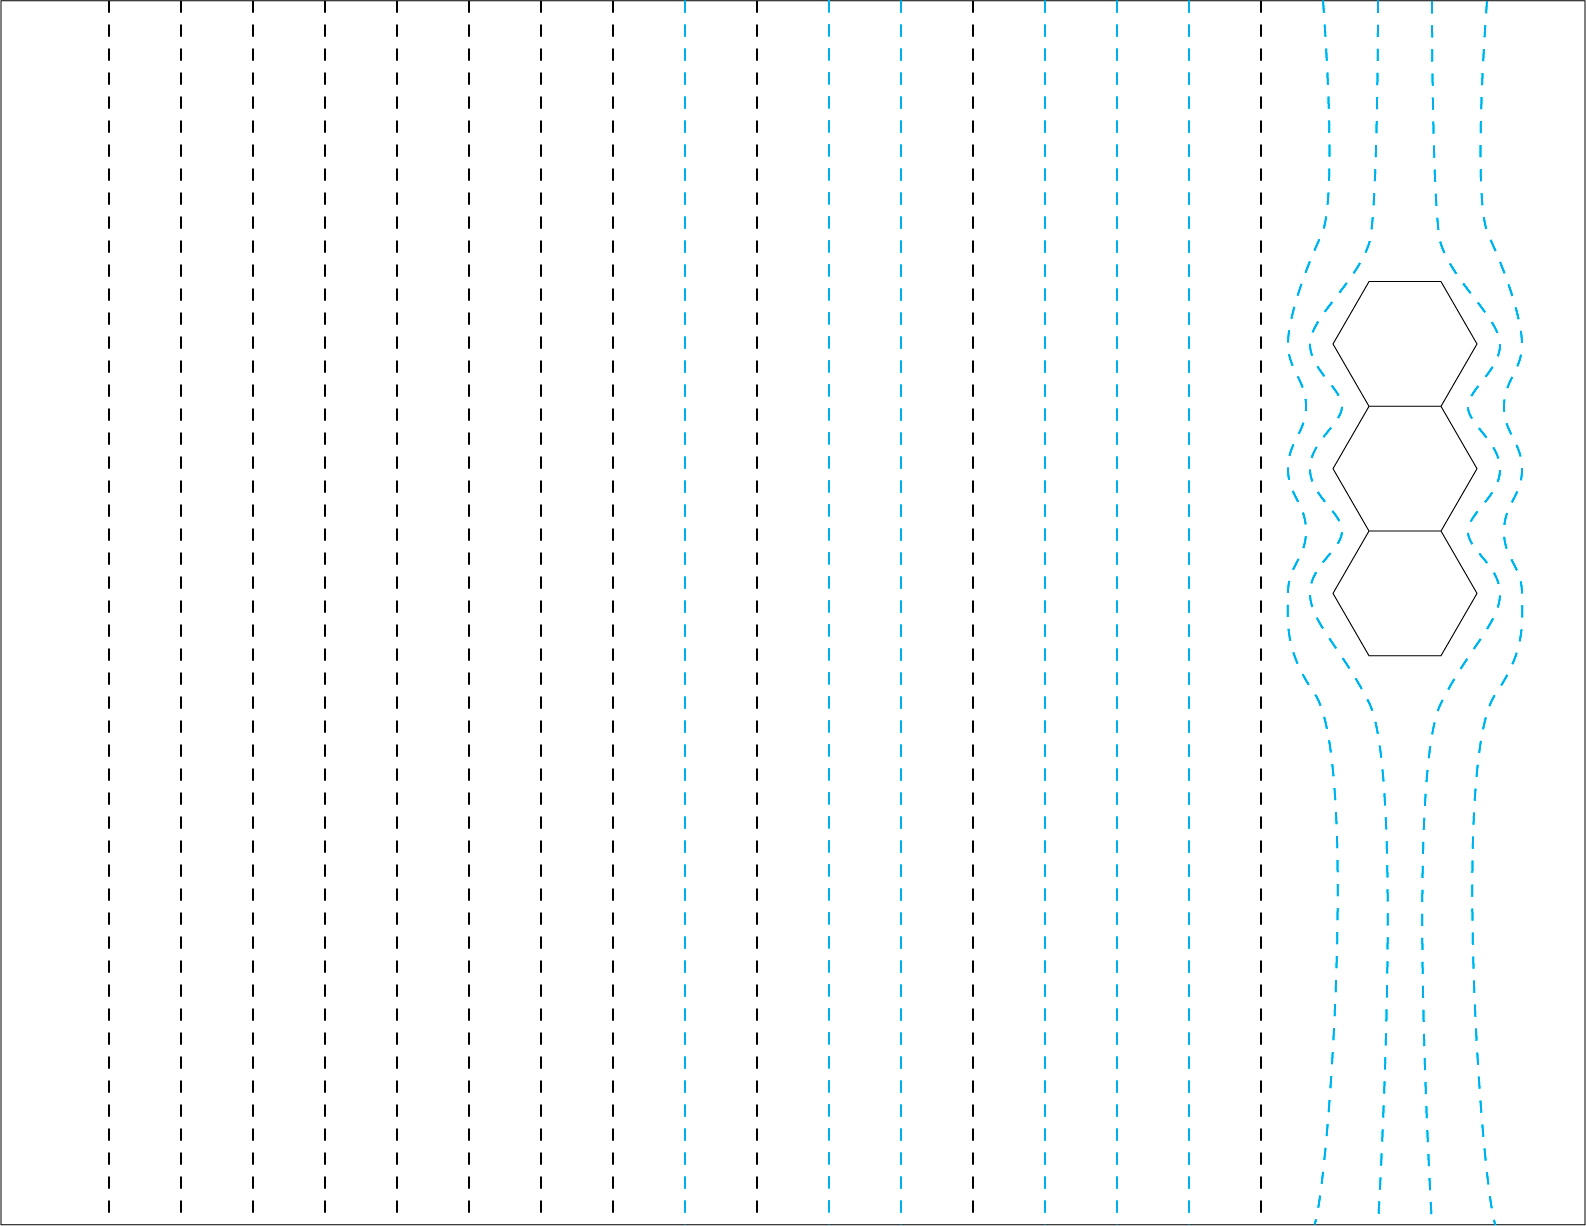
13. Download and print the quilting template. Start quilting the case using your sewing machine. For now, only sew the lines in blue on the template. The lines are 1” apart and they start at 1½” from the left edge with the exterior panel facing up. For the lines around the appliqués, you can transfer them using the template with the help of tracing paper, or freehand. |
| 14. Position the high and low pockets on top of each other and position on the interior panel with bottom edges aligned. Baste in place. | |
| 15. Complete the quilting. Do the remaining lines (black dotted line on the quilting template). Those seams will also act as dividers for the pockets. |
Finish the Needle Case
 |
16. Straighten the edges. |
 |
17. Position the flap on the interior panel with top edges aligned. Baste in place. |
 |
18. Cut two strips of binding to make the ribbons used to attach the case rolled-up. For each strip, press one end inside. Sew the edges together as well as the pressed ends. With case exterior facing up, center both ribbons on the right with unfinished ends aligned with the edge and ribbon going inward. Pin in place. 19. Attach the binding along the case edges making sure to catch the ribbon. |
 |
20. Flip the ribbons to have them going outward the case and tack in place. |
And here is the final result:


If you make one of these, I would love to see it! Please add a photo to the pool of my flickr group. Thanks!
I love this and have been looking for a tutorial! Very Nice, Thank You!
I love this one!
TYFS