Sewing for Knitters

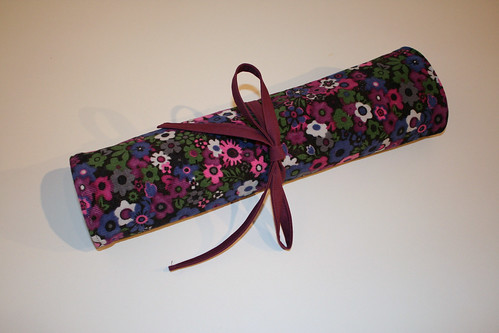
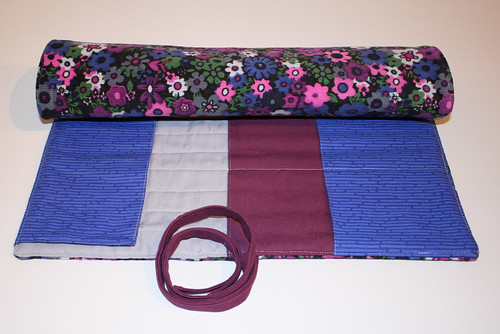
For Christmas, I made two gifts for knitters. The first was for my aunt. She liked my sister’s knitting needles roll-up. A while ago she had mentioned that she would love if I could make one for her. I made one based on my tutorial with some modifications.

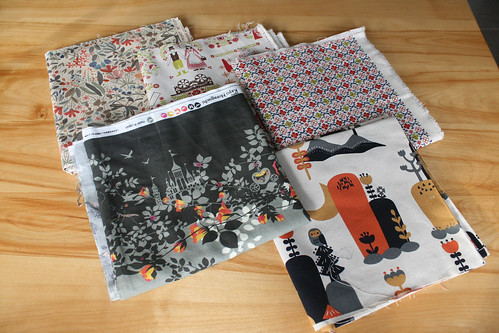
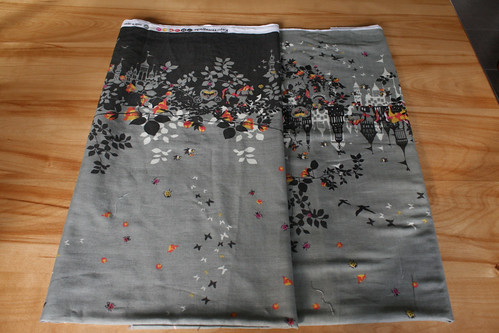
I used a printed corduroy for the exterior. This fabric was given to me by aunt. So, I new she would like it. Because of that fabric choice, I didn’t make the hexagon appliqués shown in the tutorial.

Knitting Needles Roll-Up
Inside the roll-up, I used some coordinating quilting cottons. Another difference compared to the tutorial is the binding. I decided to try something different and not to use binding. Instead, I assembled the roll-up with a muslin on the back. At the end, I sewed the exterior fabric right side down on the right side of the assembled case and left an opening to turn the roll-up right side out. I hand-stitched the opening and top-stitched all around.
Knitting Needles Roll-Up

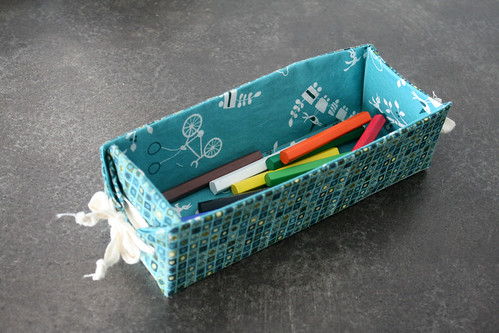
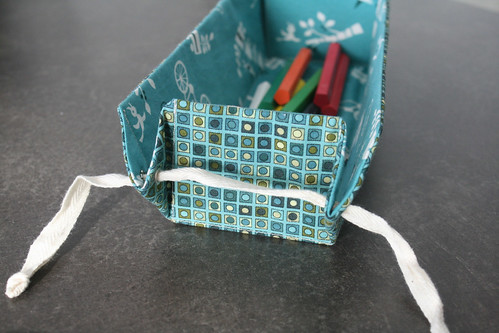
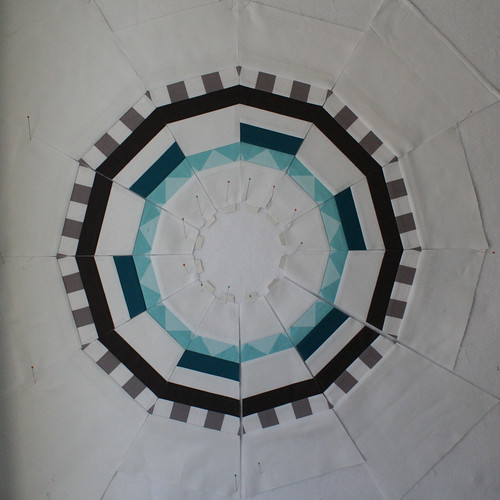
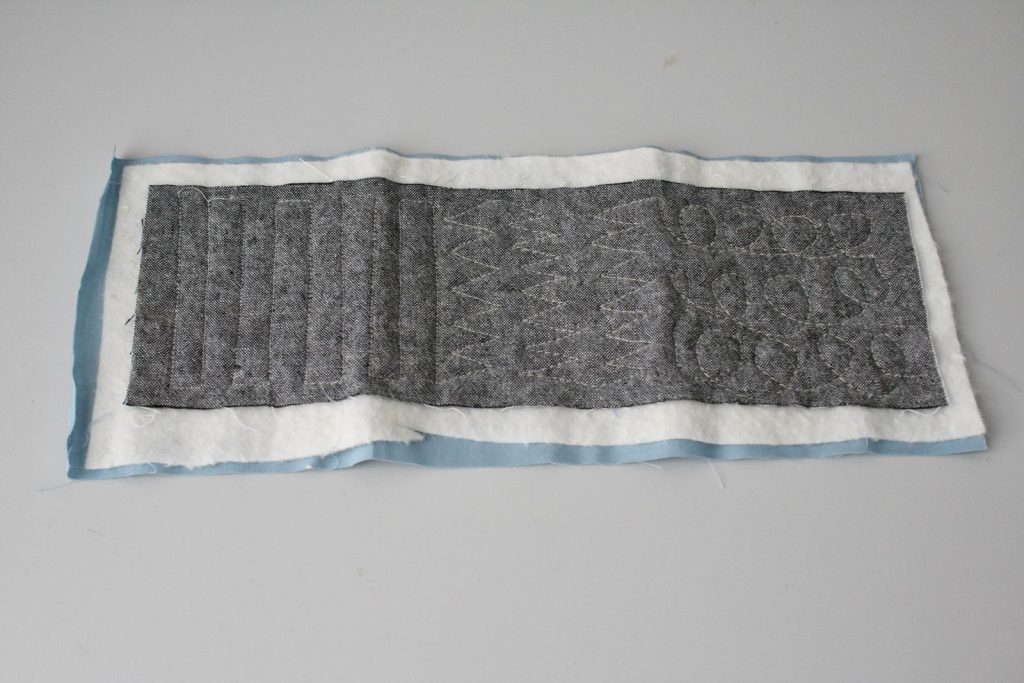
The second knitter’s gift was for my sister. She already had a roll-up to store her needles, but she asked me if I could do a case for carrying around her knitting notions. Something similar to what I had done for sewing notions here. She asked after she saw this quilting practice sandwich. She loved the texture and wanted me to use it for her case.

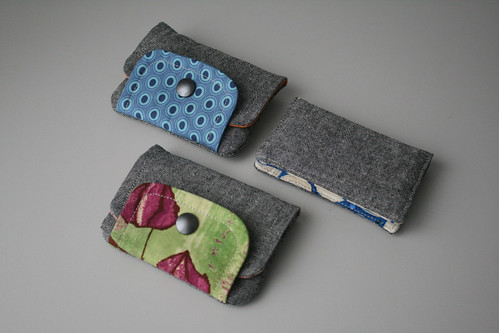
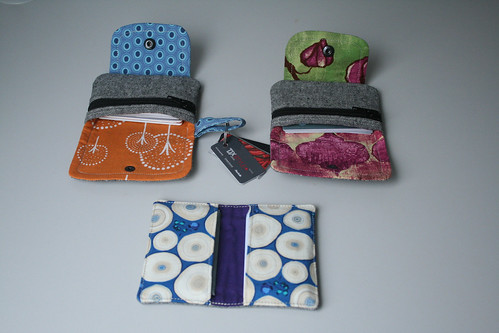
This made me think about the sewing kit in the book I Love Patchwork by Rashida Coleman-Hale. It was just the right size. But then my sister sent a picture of what she wanted to store in her case.

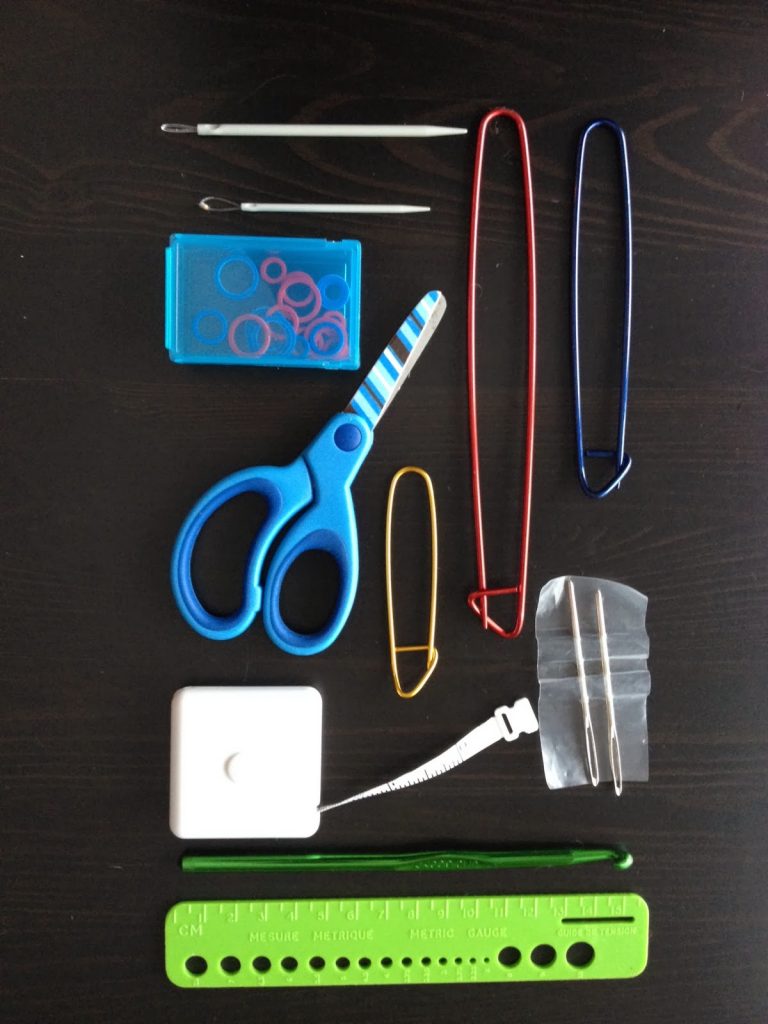
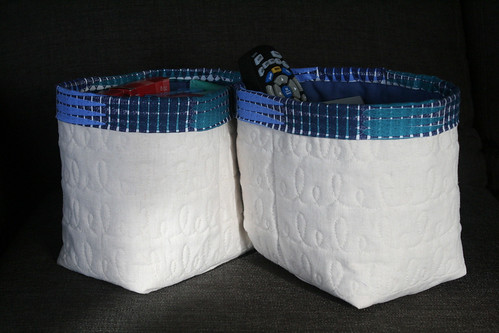
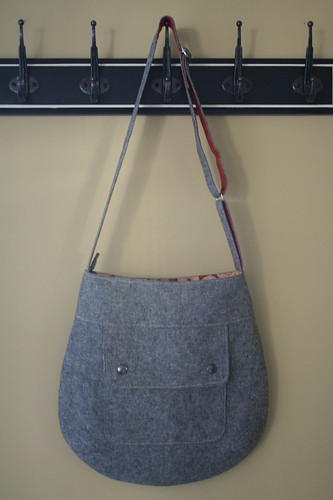
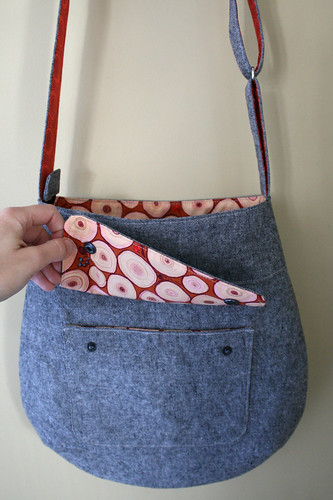
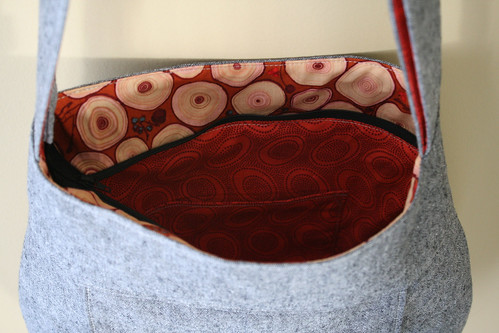
I had to change my plans this was way to small. She did love the mix of linen with a colored print for the binding though. She also mentioned that she would prefer a zipped case. Based on all she had mentioned, I decided to do something similar two those two organizers: here and here. And here is what she received on Christmas day.

Zippered notion organizer
The print I used for the binding was from the Center City collection by Jay McCarroll. I love the print and its colors, and I thought it was a great scale for binding. I coordinated the pockets fabrics with that. I also made one of the smaller pockets with felt, so she could insert her needles through it.

In my Christmas gift sewing, my sister’s zipped case was definitely the project that I’m the most satisfied with. I hope that both her and my aunt will be happy knitters!

Gear Pillow

I finished my Gear Pillow last week (see previous posts here and here).

Gear Pillow

I’m glad I was able to finish quilting and assembling the pillow before our show and tell at the Montreal MQG meeting. For the quilting, I decided to use the H2O design by Leah Day. I love the scale that Brigitte from Zen Chic gave to the pattern (see the quilting pictures in this quilt tutorial ). I tried to replicate that. I quilted everything on the front with this pattern except the circle appliqué in the center.

Gear Pillow

For the back, I used a tone on tone chevron print by Riley Blake. I quilted that panel just by following the chevron lines. I used an invisible zipper for the closure and I added some orange piping when I assembled the front and back panels. I bought both an invisible zipper foot and a pipping foot just before the Holidays with this project in mind. I don’t regret it. It made both tasks so much easier. I no longer have excuse for not using piping! I had read at a few places online that it was trickier to use the invisible zipper foot when there was piping installed. So, I decided to move the zipper closure around 2″ from one of the side edges. I just made my back panel 1″ longer to take into account the seam allowances for the zipper.

Gear Pillow

I tried different new techniques for this project and I really enjoyed figuring out how I would achieve my design. I’m really happy of how it turned out. Now, I’m looking forward seeing all the projects that are being made as part of the Riley Blake Challenge. I think that this was my favorite part of the Madrona Road Challenge last year.

Baskets

For Christmas, two of my sewed gifts were baskets. The first was a basket for holding coloring pencils. I love the size of Ayumi’s organizer basket. But, then I found out this tutorial. I though it was interesting to fold fabric and use grommets and ribbons to hold the shape of the basket. So, I adapted it to fit the dimensions I wanted and came up with this:

Pen Basket
Pen Basket

The tutorial was calling from some stiff interfacing, but I didn’t have any at home. I used some plastic sheets used for crafts or bag bottoms instead. This was really quick to make and this is definitely something I want to revisit. Along the same idea, I also like those leather coin trays with snaps which makes them easy to fold/unfold. These make great accessories for people traveling.

The second basket I made was to store some TV remote controls. I used a pattern in First Steps to Free-Motion Quilting, book by Christina Cameli. I really enjoyed the free-motion quilting part and the other steps were quick to achieve.

Quilted Bucket

Both projects were fun to make and were appreciated by those who received them!

Village Bag

This is the first project I worked on for Christmas. It actually started as a bag for me. But as I was making it, I thought this was something my mother would really like. So, I decided I would offer her for Christmas.

Village Bag

I got the exterior fabric in a bag class I took I think 2 years ago. I thought a slouchy bag would be the perfect fit for such fabric. I had been looking for a pattern for it. I stumble a few times on the Village Bag pattern by The Sewing Workshop. I love how it hangs and it is also quite roomy. I thought this hobo-style bag would be perfect for carrying around quilts that need to be bind. This fall I finally decided to order the pattern. I was happy to see I could order directly from Canada.  I started working on it as soon as I got it. It has two zipped pockets and as well as a divided pocket.

Village Bag

I enjoyed making this bag and I will definitely make another one for my-self. I’ll probably make it with the owl fabric my sister brought me from Japan. Speaking of fabrics from Japan, my sister had kept a bundle for a Christmas gift. Lucky me! This time, it was some fat quarters of more traditional Japanese quilting cottons. It was all wrapped up in a lovely furoshiki!

End of Year Projects

Happy New Year everyone! I hope you had some nice Holidays with your family. I’m not a big fan of New Year resolutions, so I won’t share any with you. I hope that 2014 will bring us some great surprises and that there will be some sewing and quilting along the way.

Since most of my sewing time in the past two months went on gift sewing, I thought I would start the year by sharing these projects with you instead. But in this first post, I’ll share some pictures of my new Sidekick tote as promised.

Sidekick Tote

Sidekick Tote
Sidekick Tote 

Again you can see some Essex yarn dyed linen blend in black. I think it is my new addiction. I just ordered some in Indigo. For the top part of the lining and inside the pocket, I used the Tree Rings print by Martha Negley. For the lining inside the bag and for the strap lining I used a print by Kaffe Fassett (Aboriginal Dot ). My only regret is that I didn’t put any interfacing on the top part of the lining that shows outside. This will get pulled a lot when opening/closing the zipper and I’m not sure it will hold up long enough. I’ll try to be gentle on it.

I also want to share right away some progress on my pillow for the Riley Blake challenge. I finished assembling the top panel. I decided to hand-appliqué the circle in the center of the Dresden plate. Now, on to the quilting. I would really love to finish this by next week. We have a show and tell at the Montreal MQG meeting and we will be showing our projects for the challenge.


WIP - Riley Blake Challenge Pillow

I’ll be back with a few posts on the different projects I’ve made as gifts. I hope you’ll enjoy.

Riley Blake Challenge

Last weekend, we had a sew-in with the Montreal MQG. There was only a few of us. But, we really had a nice day chatting and sewing. I started working on my project for the Riley Blake challenge. It’s a challenge organized by the MQG and for which Riley Blake Designs provided each participants with the same bundle of fat quarters from their Basics collection.

I decided to limit my-self to a pillow for this challenge. I have too much projects going on without enough time to sew. It will be for my son’s bedroom which we plan to redecorate this year. My husband will be making a twin bed to replace his current toddler’s bed. I want to make him a quilt, but for now I’ll focus on a pillow. The room will be in grey with hints of orange and teal. So, I only kept a few prints from the bundle I got from Riley Blake and I added some solids Kona cottons.

The prints from the Basics collection are really geometric. I wanted to play with this for the design. I also wanted something more boyish. I wanted something that would look like a wheel or a gear. I thought the best way to achieve this would be to make a dresden plate. Starting from there, I looked around for ideas. You can find some amazing quilts that inspired me here, here and here. I made a few sketches.

And here is my final design:

Last Saturday, I went to the sew-in with some templates to paper-piece the 12 wedges forming the dresden plate. Here is what I have done so far. It looks like my plan will be working. Yeah!

WIP Rilley Blake Challenge
Now, I need to piece together the wedges and put an orange circle in the center. I’ll try to work on that during the Holiday vacations.

Wallets

I had some time in the past weeks to do a bit of sewing. I did some projects for Christmas gifts. But, I also found time to sew some wallets for me.

Wallets

As you can see I used Essex yarn dyed linen blend in black for all of them. I really love the texture of this fabric. I decided to do the zip pocket pouch pattern by Michelle Patterns as I did back in March. I did one for my loyalty cards and one for someone else who requested one. On mine, I added a key ring to hold my growing collection of mini-cards. I combined the linen with some Oval Elements from Art Gallery and with a print from the Glimma collection by Lotta Jansdotter for Windham Fabrics. On the second, I used two prints from the Lantern Bloom collection by Laura Gunn for Michael Miller.

Wallets 

The last wallet is based on a retired Michelle patterns. I thought it was perfect to hold my business cards and the ones from the Montreal MQG. I only omitted the flap closure. I sew the magnets in each of the pockets instead. The print is Tree Rings by Martha Negley with some Kona in purple for the lining. I just love this print.

At the same time as I was doing the wallets, I prepared all the fabrics to sew a Sidekick tote using the pattern by Anna from Noodlehead. I just finished it yesterday. I’ll try to show somes pictures in the coming days.

Sidekick Tote
I hope you are finding some time to sew too!

Blogathon Canada

Have you been following Blogathon Canada? It is organized by Sew Sisters Shop and it’s going on all week (Nov. 18-23, 2013).

SewSistersQuiltShop
Each day, there are some host bloggers from all across Canada. Each host presents other bloggers from his/her province or territory. There are also some great prizes. Tomorrow, Isabelle, a member of the Montreal MQG, will be hosting the blogathon for Quebec. Check this out! This is a great way to get to know new blogs.

Gifts from Japan

My sister just came back from a 3 weeks trip to Japan. I’m sure you can all guess what was my special request to her. FABRIC! While she was in Tokyo, she went in the fabric district. She found a 5-storey store (Tomato), with 3 floors being only cotton prints. The first time she went, she had to left with her hands empty. She was to overwhelmed to make any choices. You can see some pictures of the store in one of her trip posts (in french). Lucky her! When she returned to the shop, she made this great selection just for me! Thank you so much little sister!

Gifts from Japan

Here is what I was able to find about the fabrics starting at the upper left corner. The first fabric is a home decor weight (twill, 100% cotton) from “Project By Cotton“. I love the floral print. The soft colors would fit perfectly in my living room. I guess that is why my sister picked it. The second is linen/cotton blend. It is from the Dutch Door Press collection by Letterpress & Design Studio for Kokka.The third I cotton hemp canvas named Polish Nostalgia also made in Japan. These cute small prints would be ideal for small projects like pouches. Unfortunately, there is nothing written on the selvage of the fourth print. I wasn’t able to find anything similar. I think this large print will be perfect for a bag. The last fabric but not the least, is a print designed by Kayo Horaguchi.  I didn’t know this designer, but her whimsical illustrations are so pretty. And I just love the colors of this one. The warm pink, orange and yellow on the neutral background. This is printed on double gauze cotton.

The print by Kayo Horaguchi is definitely my favorite. I’m don’t know yet what I’ll do with it. I can hardly imagine cutting into it. I saw some people made some nice little girl dresses with her prints (here, here and here). But, I have two boys … So, maybe something for me. Maybe something like a Washi tunic. I don’t usually sew clothing, but I thought that would be a great occasion to do so. I’m not sure I have enough tough. I’ll probably need to combine it with something else.

Gifts from Japan
The best part of getting new fabric is really having to imagine all the possible projects. Thanks again Isabelle. What a great souvenir from Japan!

Guild Fun!

Last Thursday, the Montreal Modern Quilt Guild had a meeting. We were quite busy. The evening went  by so fast. We had a block lottery and a Name Tag Swap beside the usual business.

For the block lottery, we had decided to make some Scrappy Trip Around the World blocks. Everyone who wanted to participate to the lottery had to prepare some blocks using a blue and green color scheme for the selection of fabrics. People came in with so many blocks that we decided to split them in two bundles. We had as many chances as the number of blocks we had made to win one of the bundle. Here were mines:

Scrappy Trip Around the World blocks

I can’t wait to see the assembled quilts of our two winners.

For the name tag swap, we had picked a name at our September meeting. I had picked Cinzia, our current president and the one who co-founded the Montreal branch of the MQG with me. It was a pleasure to make something for her. I tried to capture both our styles in this mini-project. I hope I succeeded. I made a paper piecing template for it. I thought it would be the easiest way for such a small project (4″ x 3″). The paper piecing went well. The hardest on such a small project was to join the two binding extremities.

Name Tag Swap

Sorry for the bad picture. I totally forgot to take one before the meeting. I received a name tag with hand-embroidery in a sashiko style. So, lovely. Thanks Joanna!

I can’t wait for our next Sew-In. We will be working on our projects for the Riley Blake Challenge. We will presenting those at our January meeting. I have a pillow project in mind.